5 minutes to run your ML/AI environment on your remote machine
envd provided a strong way to run your machine learning environment. For some people, we may be provided a powerful server had a bundle of cuda devices. We also want our actual running happens on the remote server and be able to easily access the environment from our local machine.
Here is the the guide.
For Linux server
Prerequisite:
- A Linux server with password or private key.
1. Installation (3 mins)
You need to install docker and envd on your server first.
Read install docker. Install the latest docker on your server.
If you don't have pip3, you could install it by
# For Ubuntu
apt install -y python3-pip
# For CentOS
yum install python3-pip -y
Then you can install envd by
pip install --pre --upgrade envdThere is a also a mirror for some China users:
pip install -i https://pypi.tuna.tsinghua.edu.cn/simple --pre --upgrade envdBootstrap the envd:
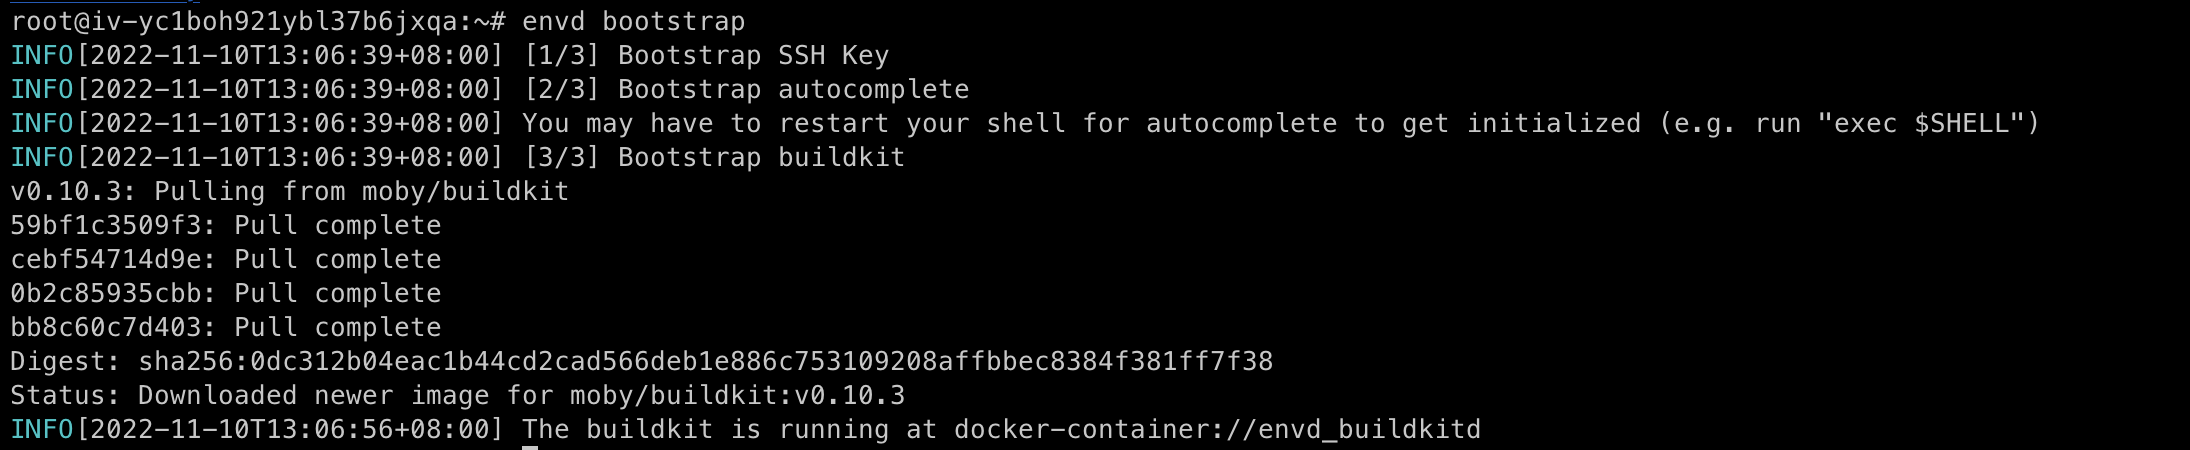
envd bootstrap
# or for China users
envd bootstrap --dockerhub-mirror https://docker.mirrors.sjtug.sjtu.edu.cn
Verify the installation:
Run your environment
Here is a example for you:
def build():
    base(dev=True)
    install.conda()
    install.python()
    install.python_packages(name = [
        "numpy",
    ])
    shell("zsh")
If you want to know more about the ability powered by envd. Please see the documentation Building Your First Environment.
Make a directory or clone your repository, touch a file called build.envd and add the build script to this file.
Run envd up in your directory to start you environment.

Access it from your local computer
First, you can copy the private key access the environment/container to your local computer. on remote machine, open the ~/.ssh/config, find the section whose host matched the directory you build your environment. For example, if you build your environment in the directory named demo, the host will be demo.envd.
Host demo.envd
  ForwardAgent yes
  PubkeyAcceptedKeyTypes +ssh-rsa
  HostKeyAlgorithms +ssh-rsa
  HostName 127.0.0.1
  Port 39265
  UserKnownHostsFile /dev/null
  IdentityFile "/root/.config/envd/id_rsa_envd"
  StrictHostKeyChecking no
  ForwardAgent yes
On you local computer, you could copy the envd private key on the remote server to your local:
scp user@remote.server:~/.config/envd/id_rsa_envd ~/.config/envd/remote_id_rsa_envdCopy the ssh config section above to your local ~/.ssh/config (If you don't have it, you can create one). But you need to some editings to it:
IdentityFile "~/.config/envd/remote_id_rsa_envd"Forward the remote server's port to local port, the port number should be the same as the port mentioned in the ssh configuration:
ssh -L 39265:127.0.0.1:39265 user@remote.serverNow you can connect the remote server's environment on your local vscode:
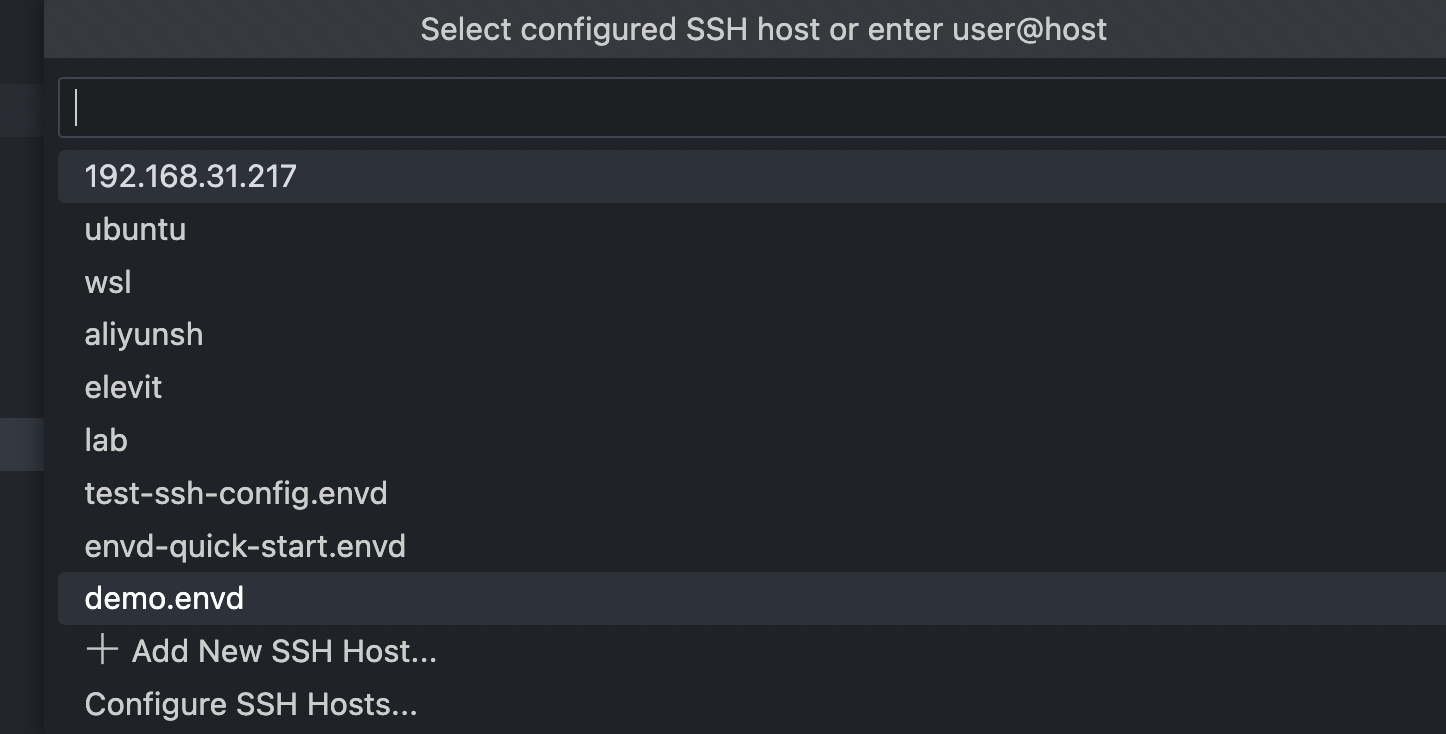
Remember to execute ssh forwarding when you need to access the environment.
Expose environment on internet
If your remote server has an accessible public ip address and be authorized to listen on some ports, you could user the following commands:
envd up --host 0.0.0.0
# or
envd up --host public-ip
Then modify the ssh config your remote server's public ip. In this way, you don't need to ssh forwarding every time.